Sunfish Help
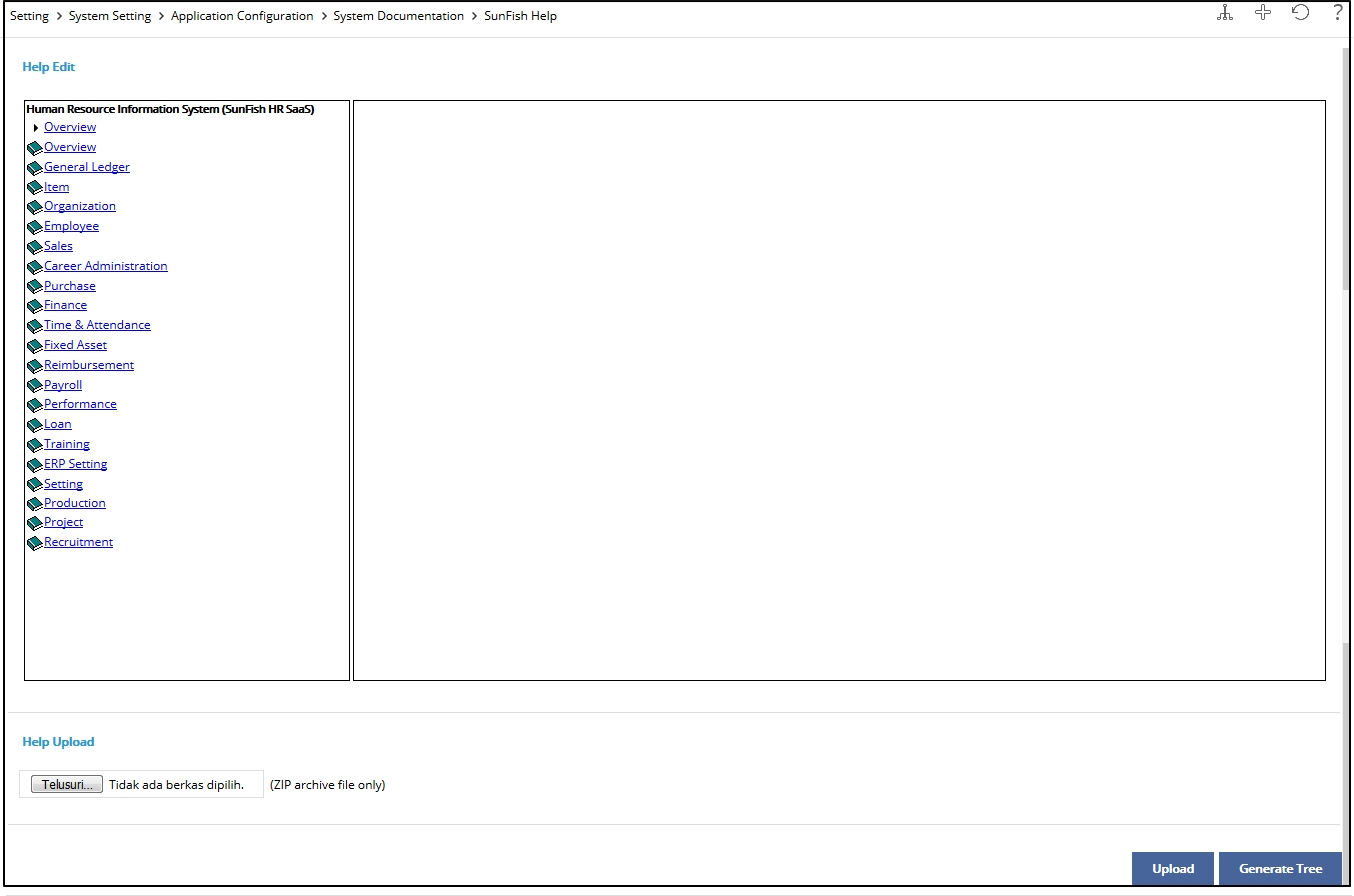
User is able to create documentation of menu or submenu in Sunfish by accessing Setting > System Configuration > Application Configuration > System Documentation > Sunfish Help.
This page is divided into three parts:
Document Tree
This part consists the following information:
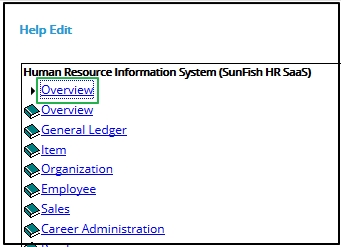
- Help Edit Page
Click the menu title to open Help Edit Page. For example, in the following page, click Overview to open the Help Edit Page of Overview.
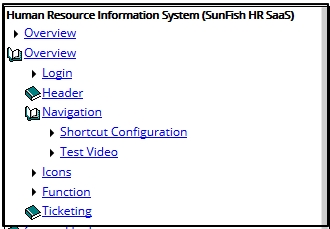
- Sub Tree
Click icon to open submenu page, then the icon will become
  which means that the menu has been opened to display the submenu. Whereas
  icon means that the menu has no submenu.
Display
This part can be accessed by two methods, which are:
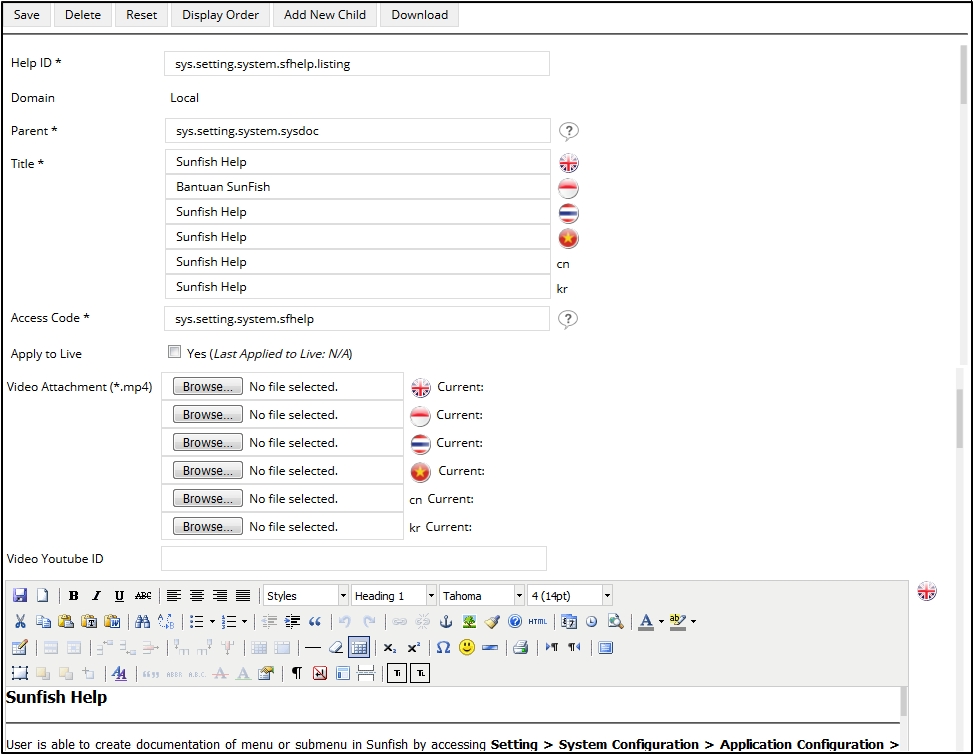
- Add Page
Click icon to open the Add page.
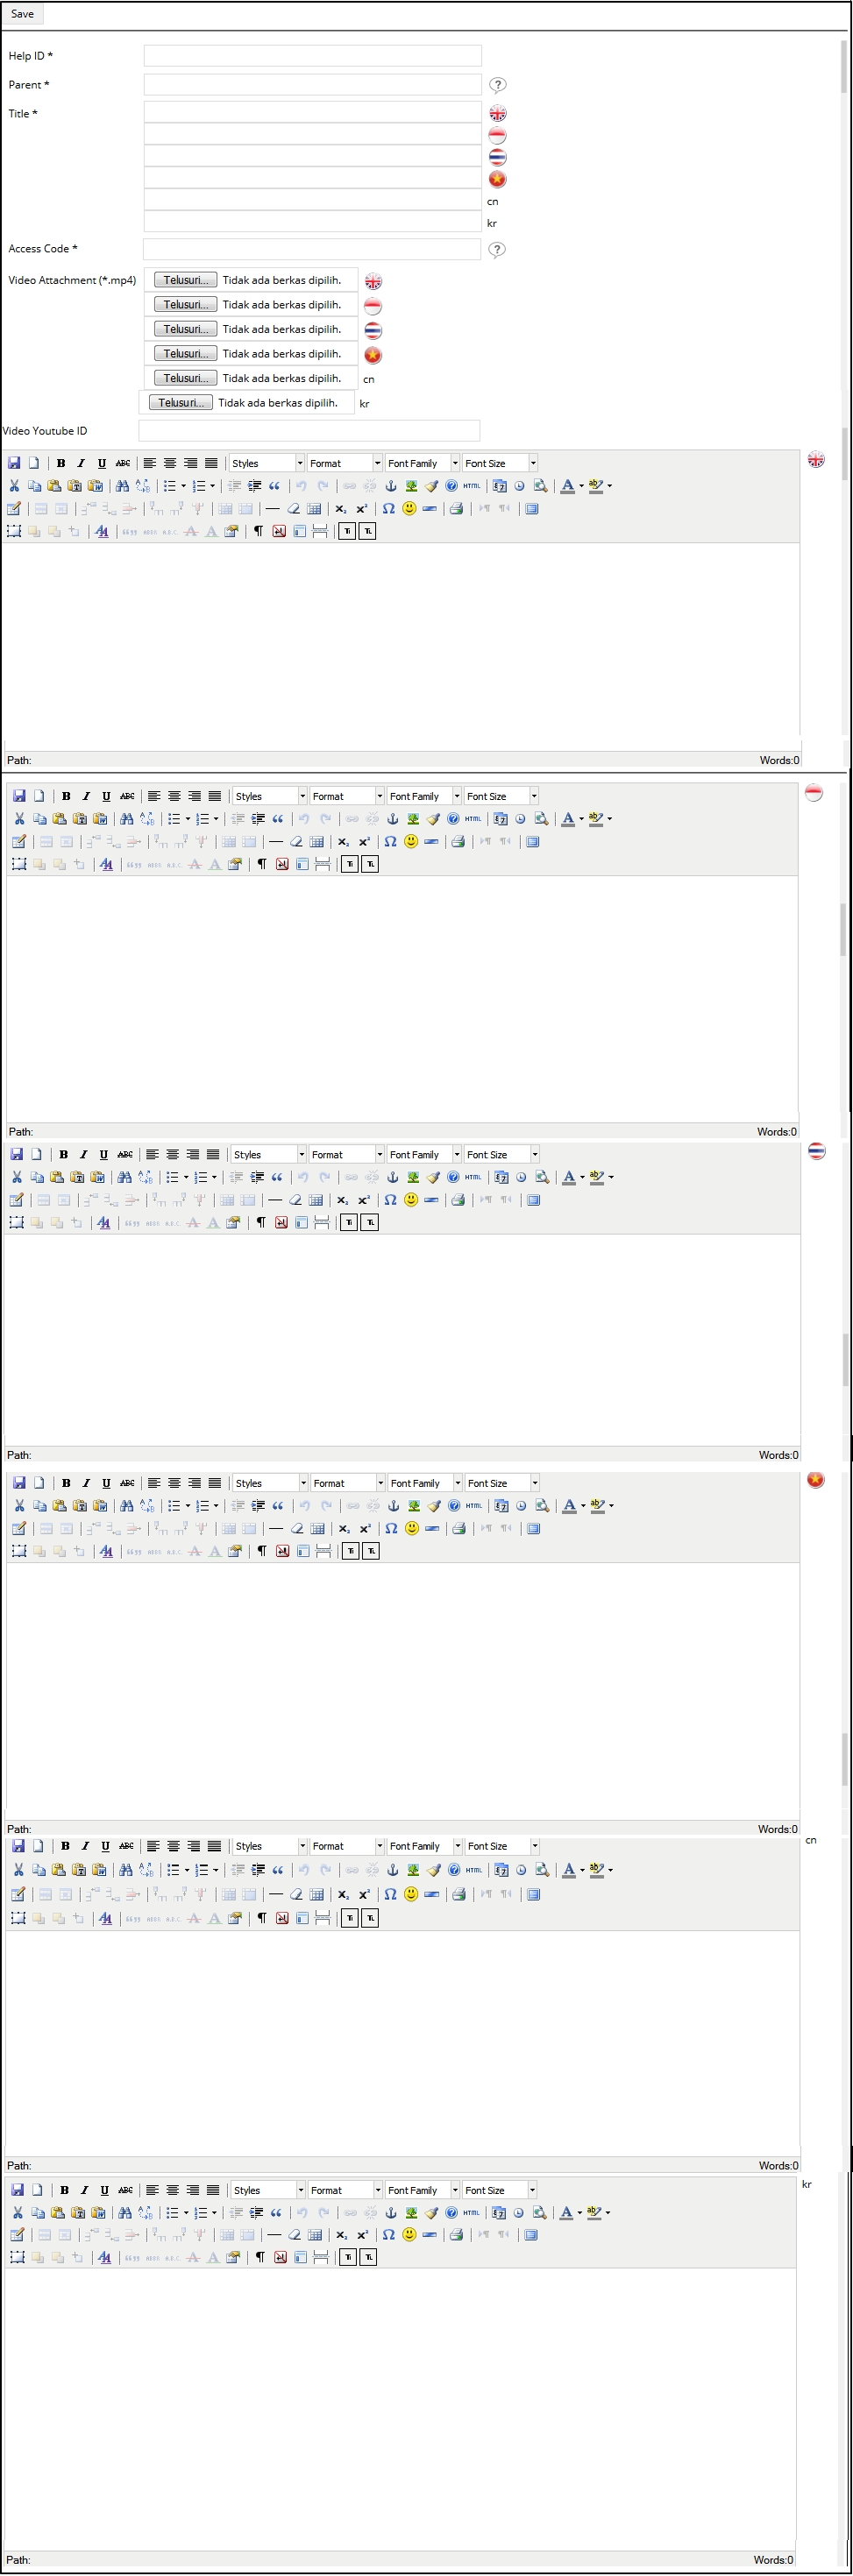
This page contains the following information to be completed:
- Button Bar
In this page, button bar will only display button to save the Help documentation that is created.
 - Help ID
It is the code of every page in Setting > System Setting > Application Configuration > Page Management > Application Menu.

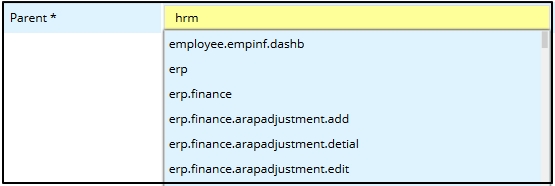
- Parent
It is the tree indicating the order of page that can be accessed.

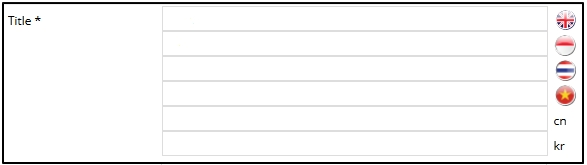
- Title
It is the title displayed in active language(s).
- TinyMCE
It is the application used in Sunfish to create documentation and letter. Input the documentation with the language that will be used.
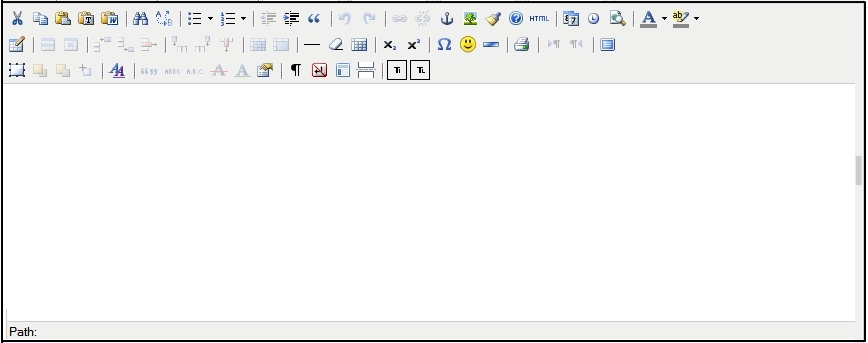
This application displays the following icons.
- HTML
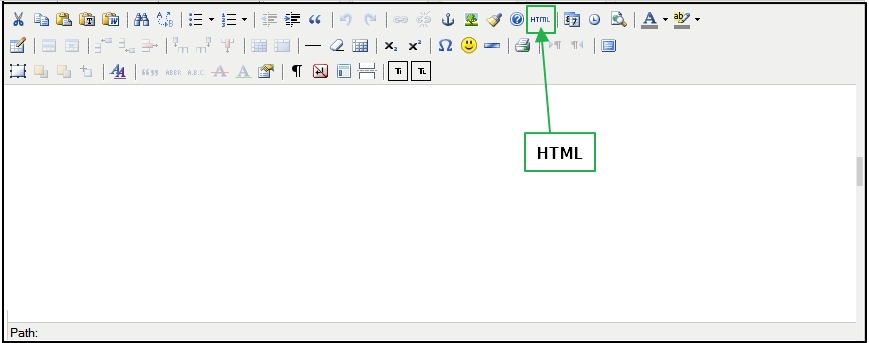
Click HTML to open HTML Source Editor page. This page is used to input HTML Source Code. This page provides some functions:
- Word Warp
It functions to arrange source code in order to make it appropriate with the format in HTML Source Editor when the Word Warp is selected. - Source Editor
It is the area in which HTML source code is inputted. - Update
This button functions to save source code that is created. - Cancel
This button functions to cancel the action.
- Word Warp
- Save

It functions to save the inputted documentation. - Print

It functions to print the documentation. - Preview

Use this to preview the documentation. Here is an example:

- HTML
- Button Bar
- Edit Page
Click menu or submenu title at the Document Tree to open the Edit Page. Different with the Add Page, in this page, button bar will display the following buttons.
Besides, the buttons provided in Edit page are:
 is used to delete the overall page of documentation per Help ID.
  is used to reset the edited documentation to the initial condition. This button is used when user has not saved the edited documentation.
 -
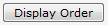 displays Edit Display page according to the document order.
From the image above, the documents of Sunfish Help and System Article are part of System Documentation. To change the display order, choose the order number of each display from the selection box, or click
 and
and  to make the order up and down.
  functions to add new help which is a child of selected help.
 functions to download e-help file in a .zip folder which contains the content and image excluding the video. For one access code of e-help downloaded will produce one .zip folder.
There is “Domain” information which functions to enable clients adding and editing the e-help file on their accounts. There are two types of domain information, which are:
-
- System: This information indicates that the e-help is still the e-help from the empty account and has not been changed at the client account.
- Local: This information indicates that the e-help edited and added at the client account will not change to the empty account.
Help Upload
At the bottom side of the page This part functions to upload e-help file at the client account that has been downloaded beforehand from the empty account. 
The uploaded file is a .zip folder containing the content and image excluding the video. Once the data to be inputted has been in accordance with the existing template, locate the file to be uploaded by clicking  to start uploading and importing the file to the system. There will be a report regarding to the data uploaded, whether the data is successfully uploaded or not.
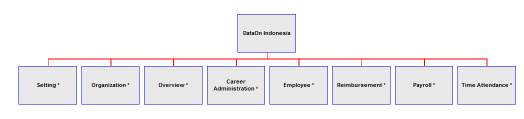
At the upper right side of the page, there is  icon that can be clicked to display diagram of SunFish documentation as following.
To make sure the child you created has been generated, click  on the right bottom side of the screen.